How to create good-looking readme files!
How to create epic-looking README files to make your project look more appealing!


At the end of my last blog post, I mentioned that you can fix people's readmes and earn yourself some extra commits from that but how do we even create a good-looking readme that's worth a commit? Well in this post you will find out how!
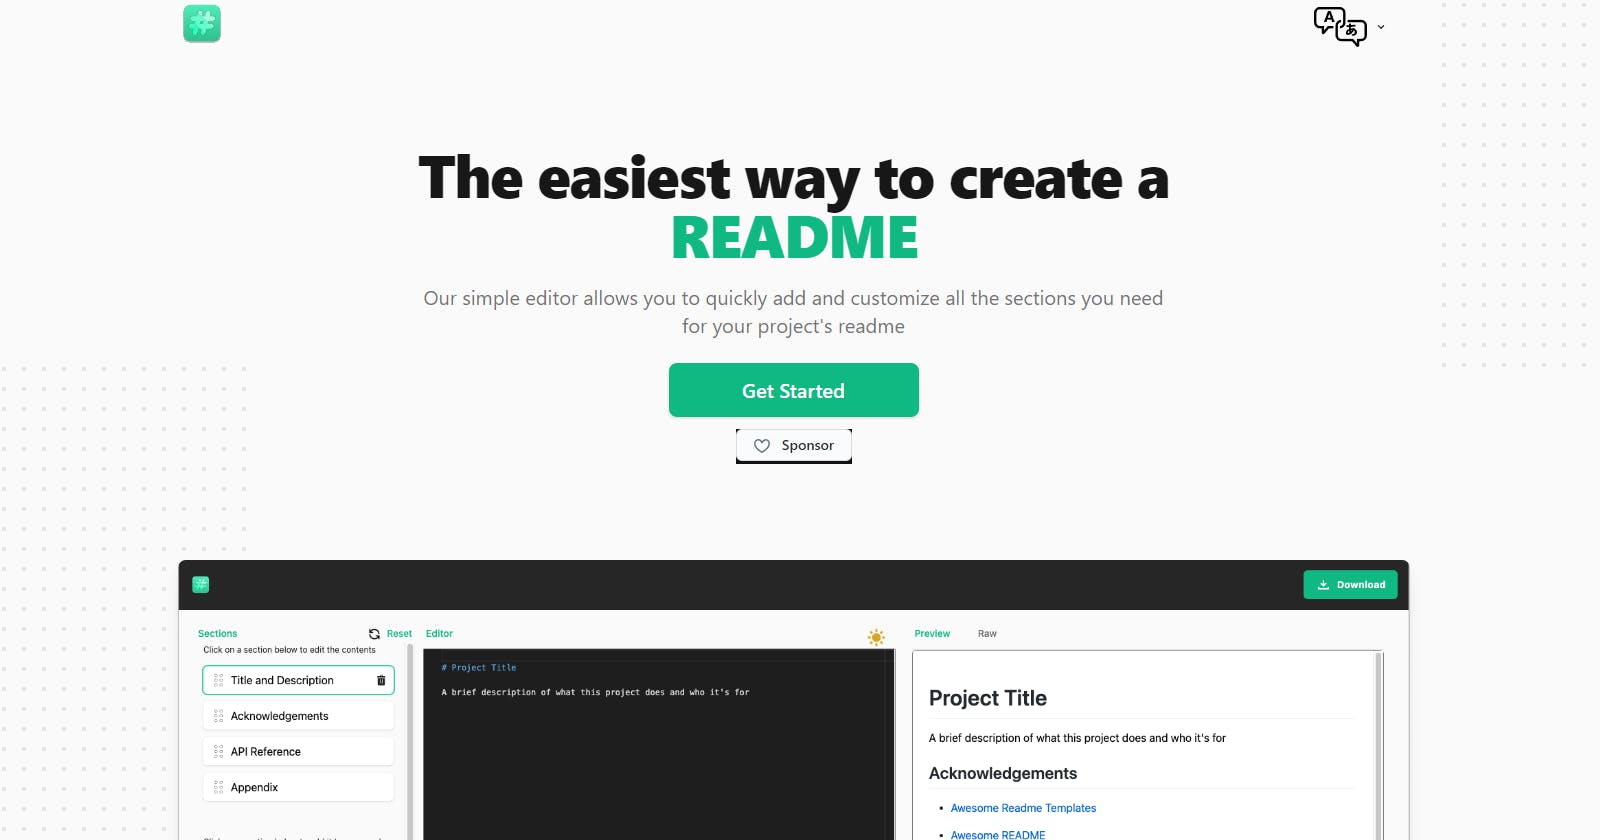
The tool we are gonna use is called readme.so.
This tool was developed by Katherine Oelsnera software engineer at GitHub. I really like using her tool because it not only can preview the markdown right in our browser but it already includes a lot of template sections and allows you to add custom ones as well.
Making sexy readme files
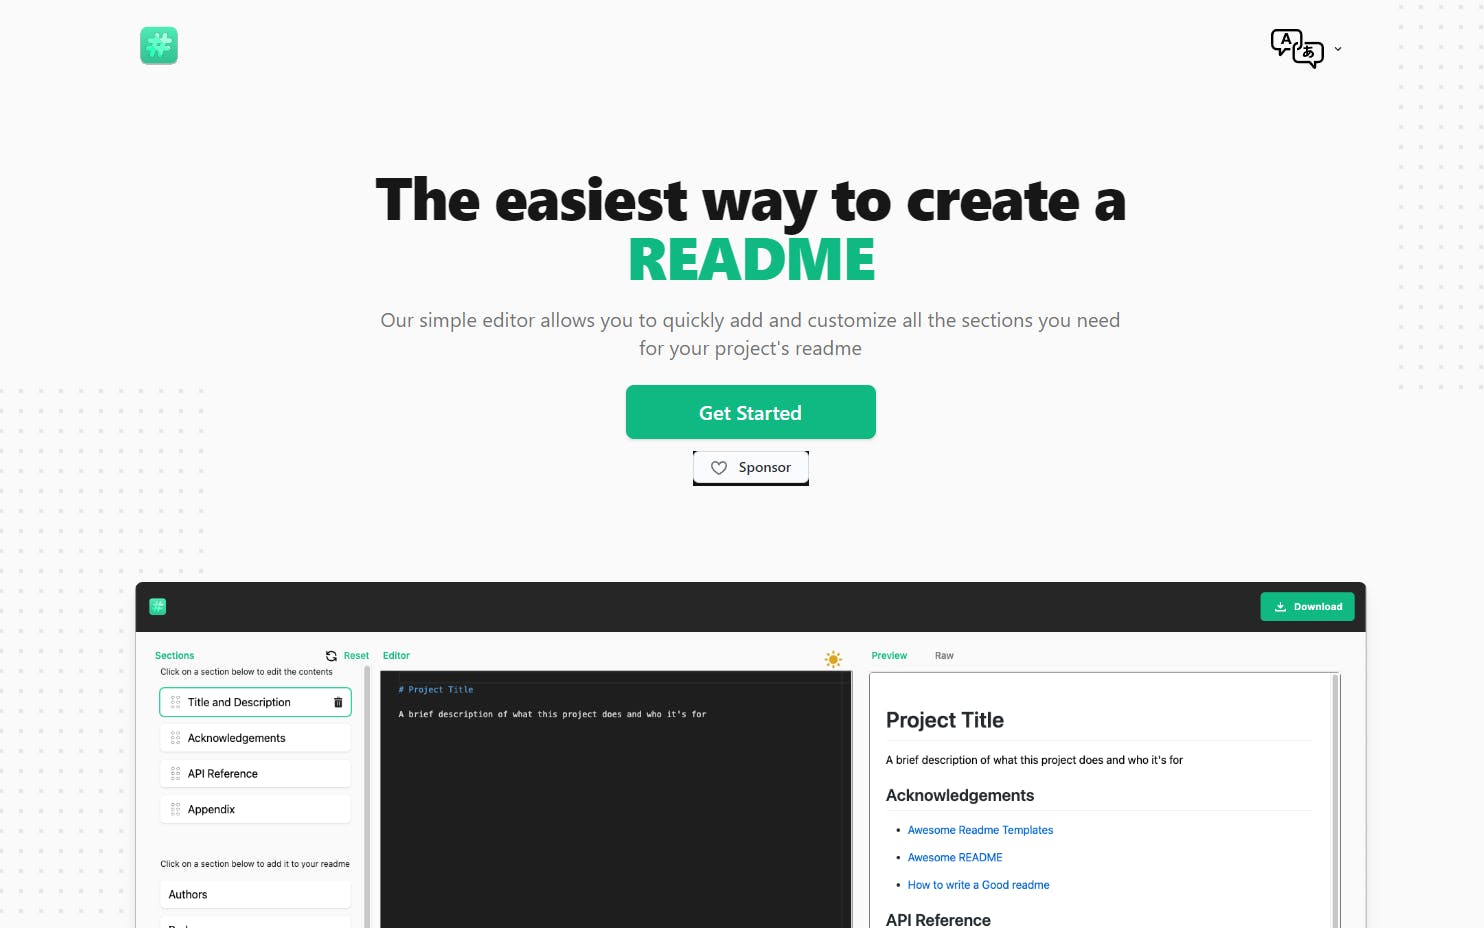
On the front page, you want to click the big red button saying "Get Started" You will then get redirected to the editor page where you can view and edit your readme.
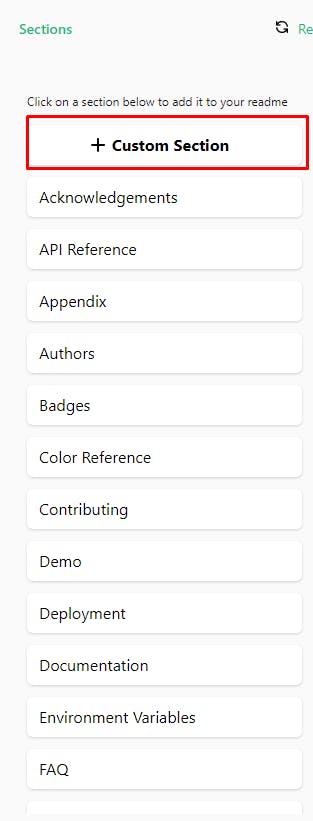
On the left, you can see the section tab that as mentioned above already includes a ton of premade ones. Here you can create your own section as well.
As an example, I'm gonna work on a readme for one of my Twitter bots called TodayIsThatDay.
First of all, you want to scroll down until you find the Logo section and click on that. You should now see markdown code that looks something like this:

In there we want to swap the placeholder image with our own logo by replacing the URL with the URL to our image. If you don't got a CDN to host your image on you can use Imgur or any other CND.
Now our readme already looks better than the one GitHub generates for you doesn't it?
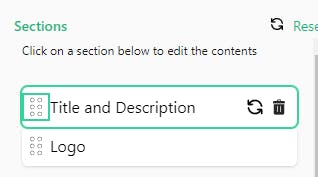
Next, we want to add a title and a description to it. Since this isn't a premade section we now click the new Custom Section button and name it Title and Description. The website added this as a new template so we can use it in our next project as well.
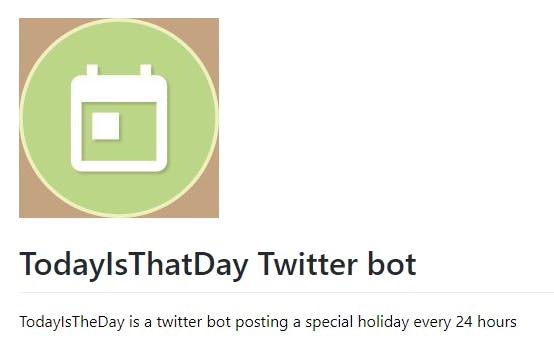
Your title and description could look something like this:
# TodayIsThatDay Twitter bot

TodayIsTheDay is a Twitter bot posting a special holiday every 24 hours
This is what the current preview looks like.
Now I think the logo would look better under the title now we don't need to remake the whole readme we can just simply drag the title and description section over the logo like shown in this picture.
Already looking so much better. Now let us add some examples for our environment variables so contributors can find out what tokens and other data are needed to run the project. Luckily for us, we don't need to add another brand new section the site already got one for just what we need.
Find the Environment Variables section and click on it. Now in my opinion this is a good start but not really how I would embed it into my readme. So we will change it up a bit.
Remove
`API_KEY`

`ANOTHER_API_KEY`
And add something like this: (Of course replace it with your own variables)
TWITTER_API_KEY=
TWITTER_API_SECRET=
TWITTER_ACCESS_TOKEN=
TWITTER_ACCESS_TOKEN_SECRET=
At the bottom here I also want to include a link to where to get these tokens. I can do that by simply adding the text as such.
Get those over at https://developer.twitter.com/
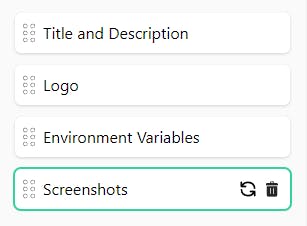
For the last step, I want to include some screenshots of my project in action.
Of course, there is a section already made for that. So we will just use the Screenshot section and modify the URL inside. If you want to add more screenshots simply copy:

And add it as many times as you want but keep it simple and not use too many of these.
This is what our structure looks like now:
Now we can use the download button to download the file or use the Raw button next to the Preview section to get our markdown code and paste it into our projects Readme.md file.
And just like that, we created a nice-looking readme in just 5 minutes. this is what our final Readme looks like on GitHub:
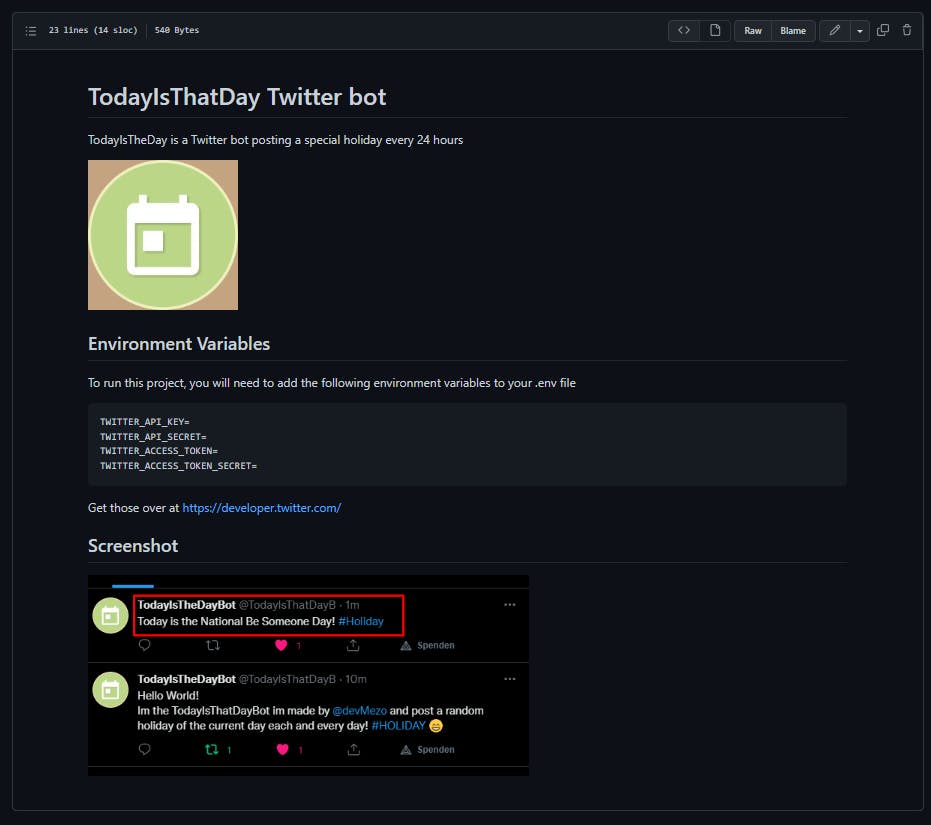
Of course, we could add a ton more stuff like Roadmaps, Badges, and way more but I think you guys got an idea of how to use the tool. If you liked this tool you can sponsor Katherine Oelsner and help her maintain the project. The explanation here is very general you can do so much more to a readme depending on your use case. I still hope it helped some of yall and you learned a thing or two!